

Everything Else

How To: Sharpen a knife
One of the best parts about cooking is feeling the cold, hard steel of your cooking knife in your hand. The sleek skillful edge doesn't stand a change against any delicacy, unless it's dull. A dull knife takes the fun out of cooking and is actually more dangerous than a sharp knife, so take a moment to sharpen and care for your tools.
How To: Sharpen your knife
In this video, we learn three different ways to sharpen a knife. The first way is to grab a traditional stone and place either some water or oil on it and sharpen it my scratching it against the stone. Another way to sharpen your knife is to scratch it on a diamond tip, which does the same thing as a stone, takes some of the metal off of the knife. The last way to sharpen a knife is to buy a product called an AccuSharp. It has a sharpener that is built into the side of it. All you have to do ...
How To: Properly conserve and use your freezer to store food
In this tutorial, learn how to save money and keep your food for longer by freezing it. You will get a ton of tips so you know which foods are most suitable for freezing, how to store them and exactly how long they will last. Enjoy!
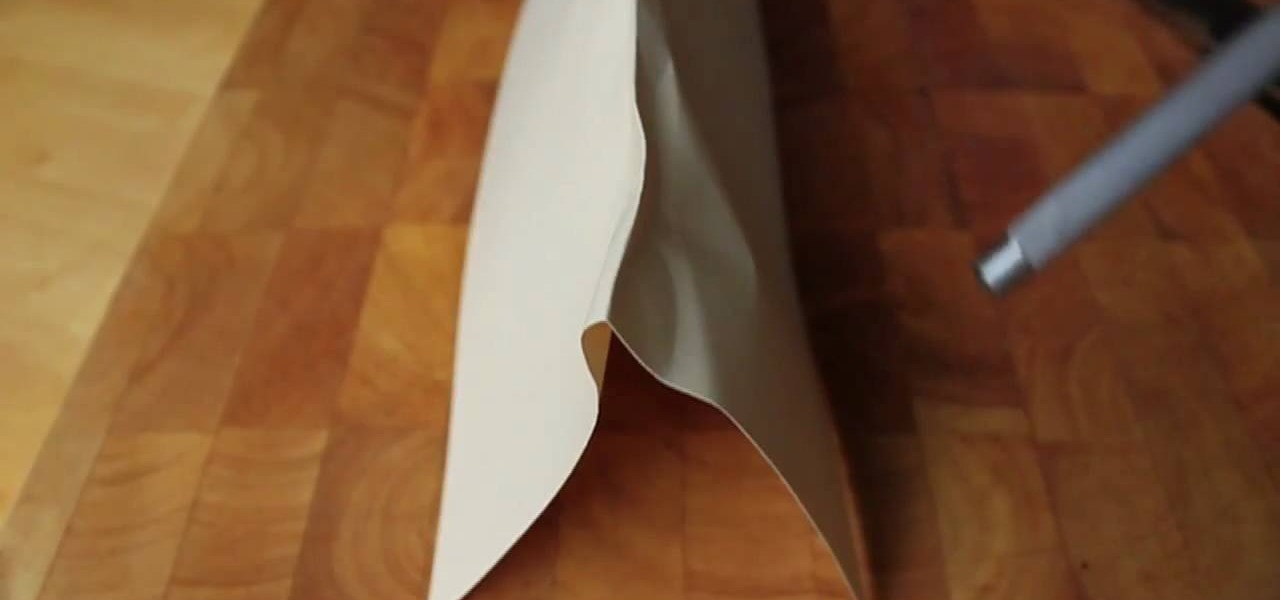
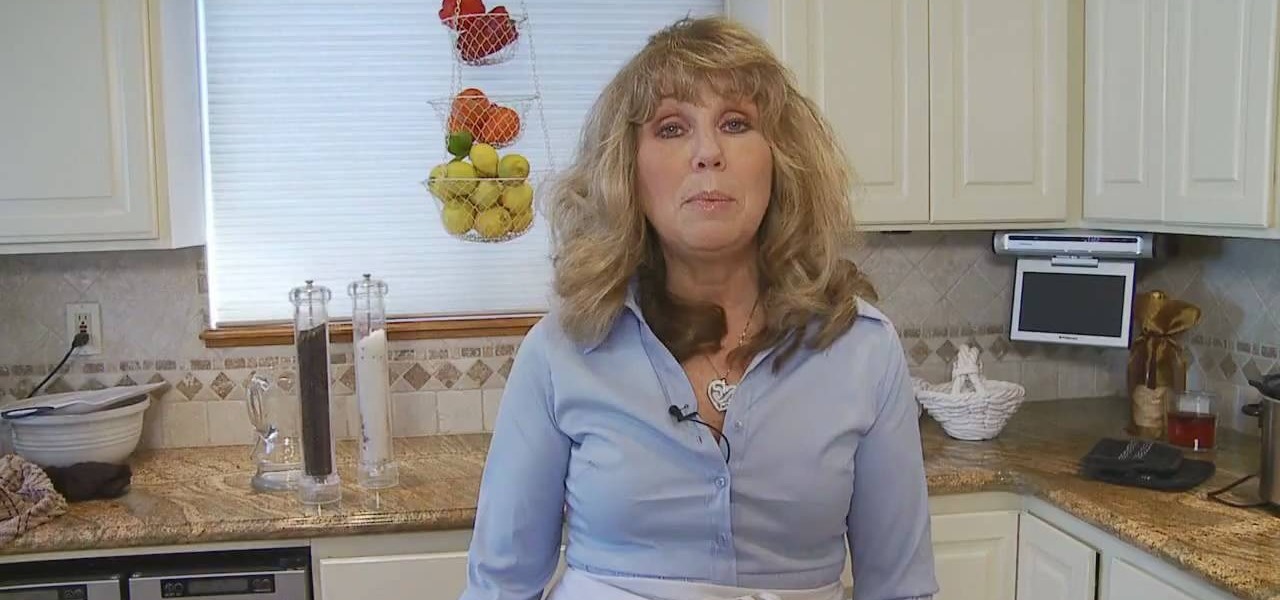
How To: Save lots of kitchen clean up time with Jenny Jones
In this tutorial, Jenny Jones shows you how to save yourself a ton of time on cleaning your kitchen by using a few simple tips. Jenny uses wax paper, parchment paper and aluminum foil to cook and bake instead of using a ton of bowls and pans.
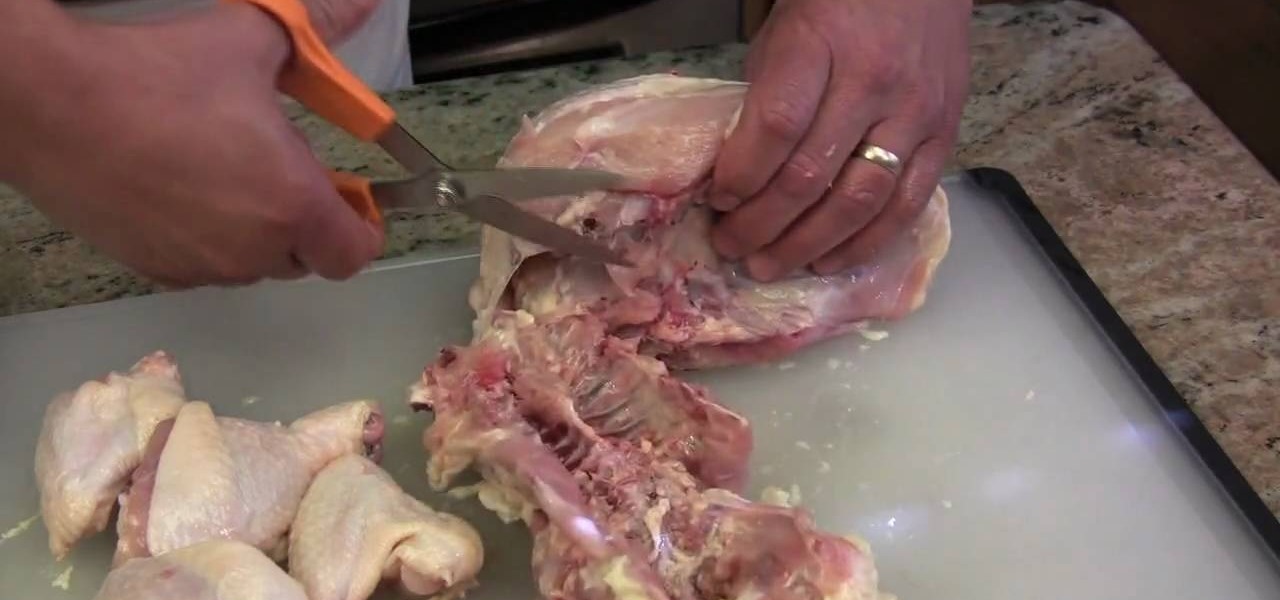
How To: Choose the right pair of kitchen shears
In this clip, Chef Jason Hill talks all about kitchen shears (or kitchen scissors). In order to be the best cook you can be, you will want to make sure you have the right shears. Shears are designed for cooking and work a million times better than a knife or normal pair of scissors for things like cutting through bone. Check out this chef's tip and make sure you choose the right pair for you.
How To: Sharpen a knife with a knife steel
Knives gone dull? This chef's guide offers instructions on how to sharpen your kitchen utensils using a knife steel. It's easy! So easy, in fact, that this free video tutorial can present a comprehensive overview of the process in just under three minutes' time. For detailed instructions, as well as to get started sharpening your own knives, watch this helpful how-to.
How To: Use white plates to present food professionally
White plates may seem boring and overused, but there's a reason they're preferred by five star restaurant chefs and your deal old mom for their dishes.
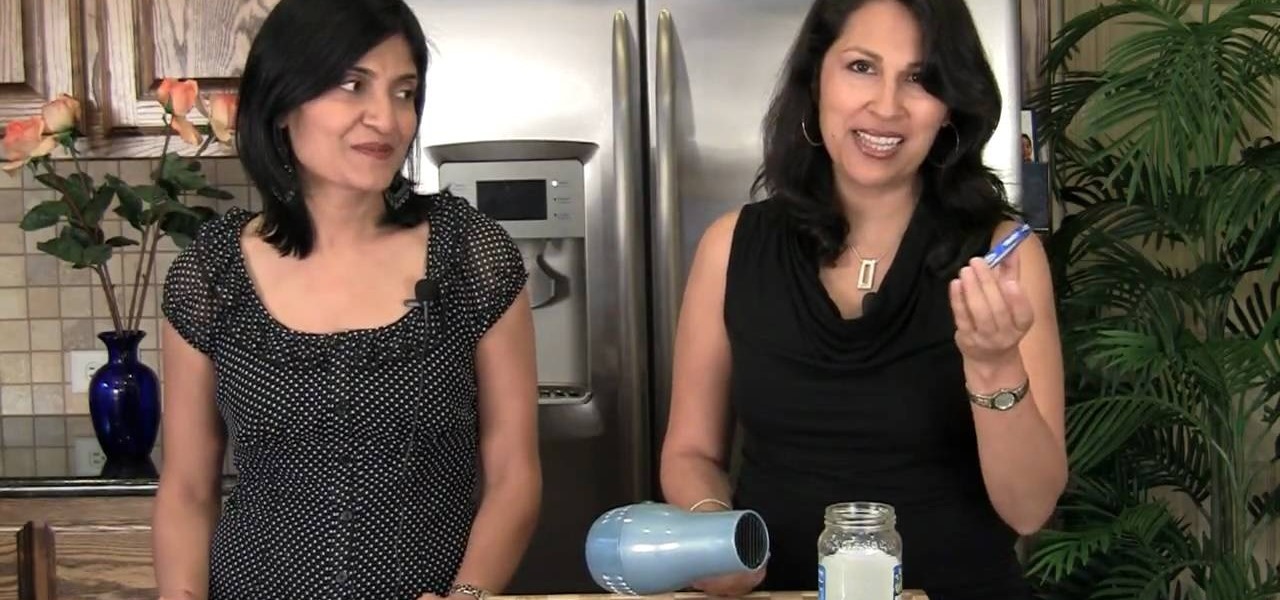
How To: Reuse glass jars
You don't have to throw out those glass jars! Every little bit counts, so you can feel good about making a small different if you start reusing your glass jars. Show Me The Curry has all the guidance you need to ensure that you get the most out of your glass jars and do your part to protect the planet. This video will show you how to resue glass jars.
How To: Flip food properly
There's nothing like flipping food. Not only is it beneficial when making things such as stir fry or omelettes, but it also pretty cool to do as well. In this video tutorial, you will discover just what it takes to flip food properly. Warning! When you first try this, a mess might ensue. So be careful and have fun!
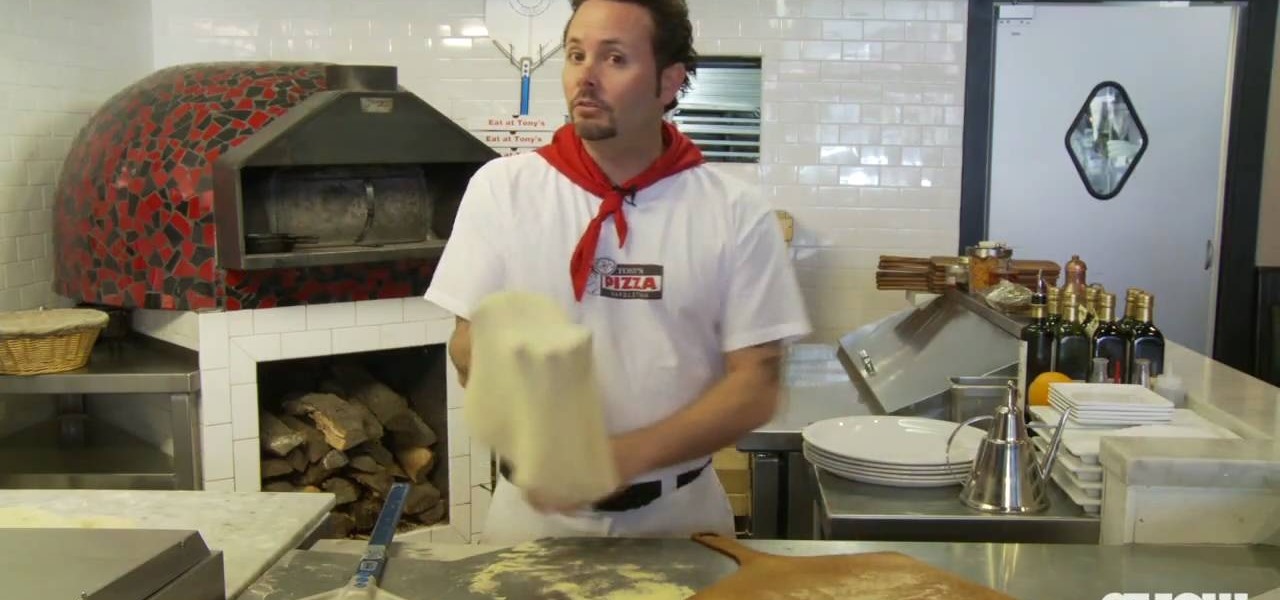
How To: Use a pizza peel
If you want to make an authentic New York-style pizza pie, you'll require the proper tools. Among those tools is the pizza peel. World Pizza Champion Tony Gemignani shows how to properly use a pizza peel, the wide, flat shovel that transports the pizza from countertop to oven. For complete instructions on how to use a pizza peel (also sometimes referred to as a pizza shovel), watch this free video tutorial.
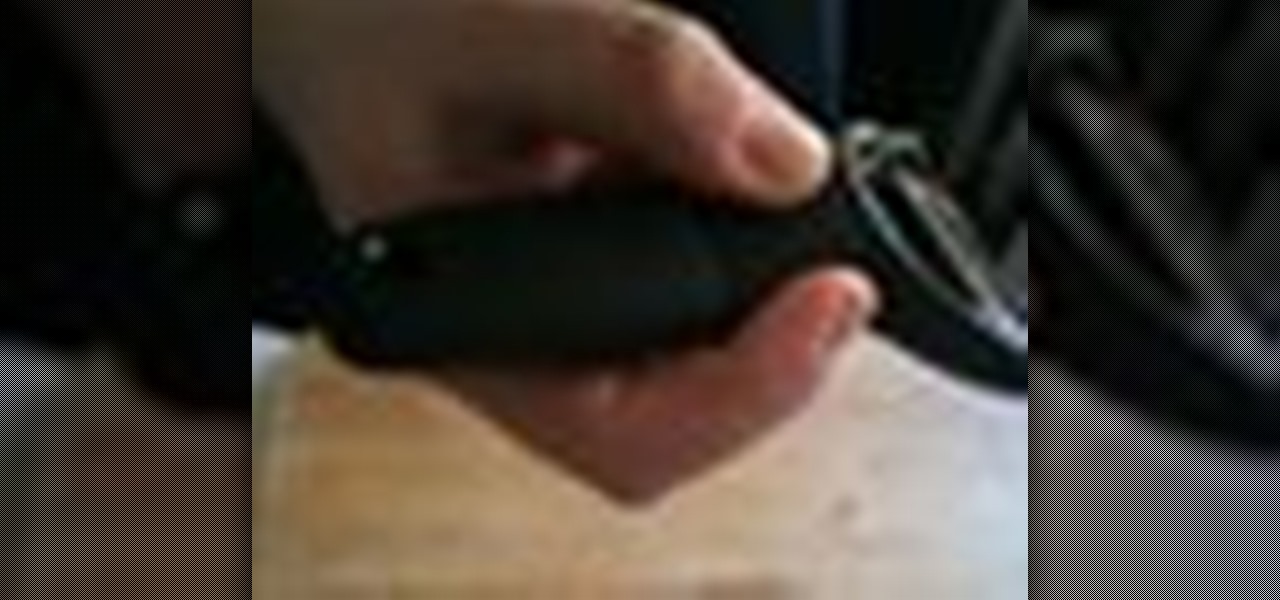
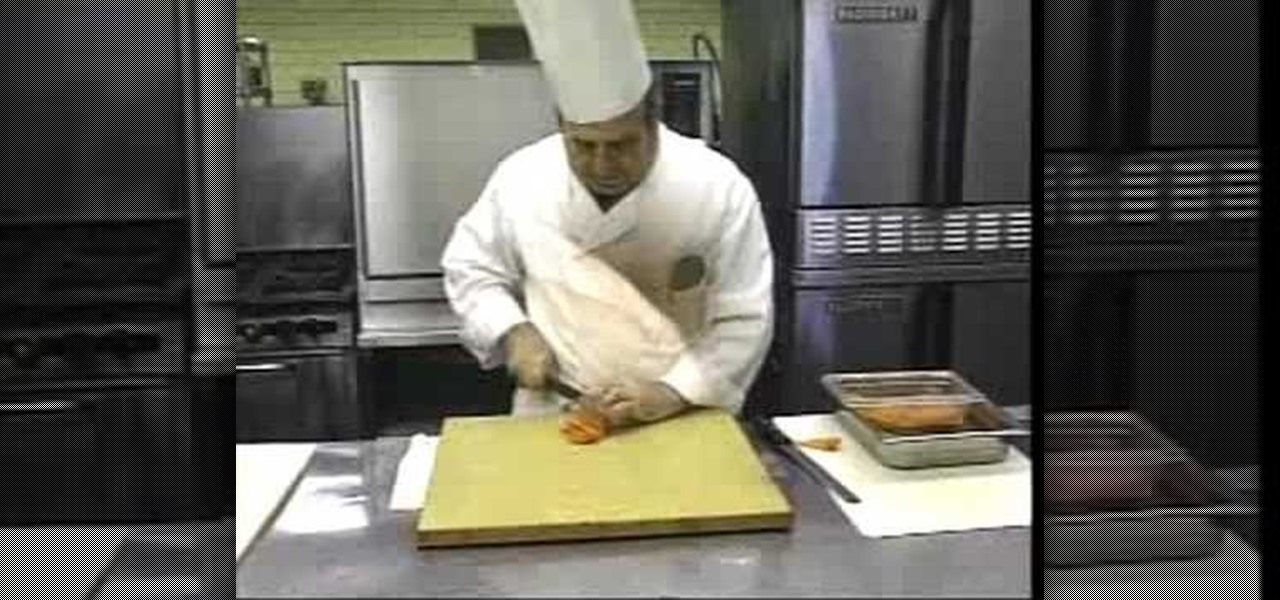
How To: Hold a Y-vegetable peeler like a pencil
This short and sweet video shows you how to use your Y-vegetable peeler more efficiently. All you have to do is hold it like a pencil. It'll make peeling vegetables much easier. You won't even realize what a simple, ingenious trick it is until you try it. Peeling carrots will no longer be a chore! Hold a Y-vegetable peeler like a pencil.
How To: Open a can with no can opener
Are you stuck somewhere without a can opener? Has this ever happened to you..you move to a new apartment and head to the grocery store.. pick up a bunch of cheap and tasty canned goods for dinner only to arrive home and realize you forgot to buy a can opener along with them? Not to worry!

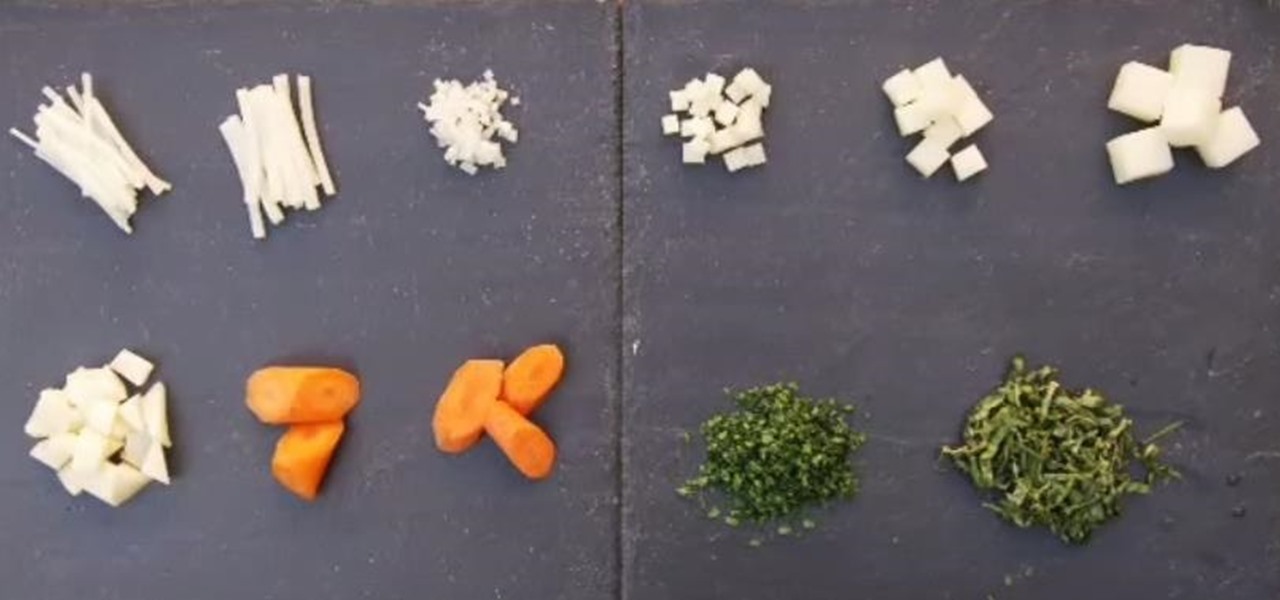
How To: Use the Cool Noodle Tool to make noodles at home
In this video, we learn how to use the Cool Noodle Tool to make noodles make from thai coconut, auzzhini, jicama, daikon radish and yellow squash. First, grab a half of a coconut and your noodle tool. Take your tool and scrape the inside of the coconut and you will have coconut noodles in no time! Do this for all of your different vegetables, whichever you prefer. Place all of your vegetable noodles into a large bowl and you can now prepare these with any sauces that you prefer. This tool mak...

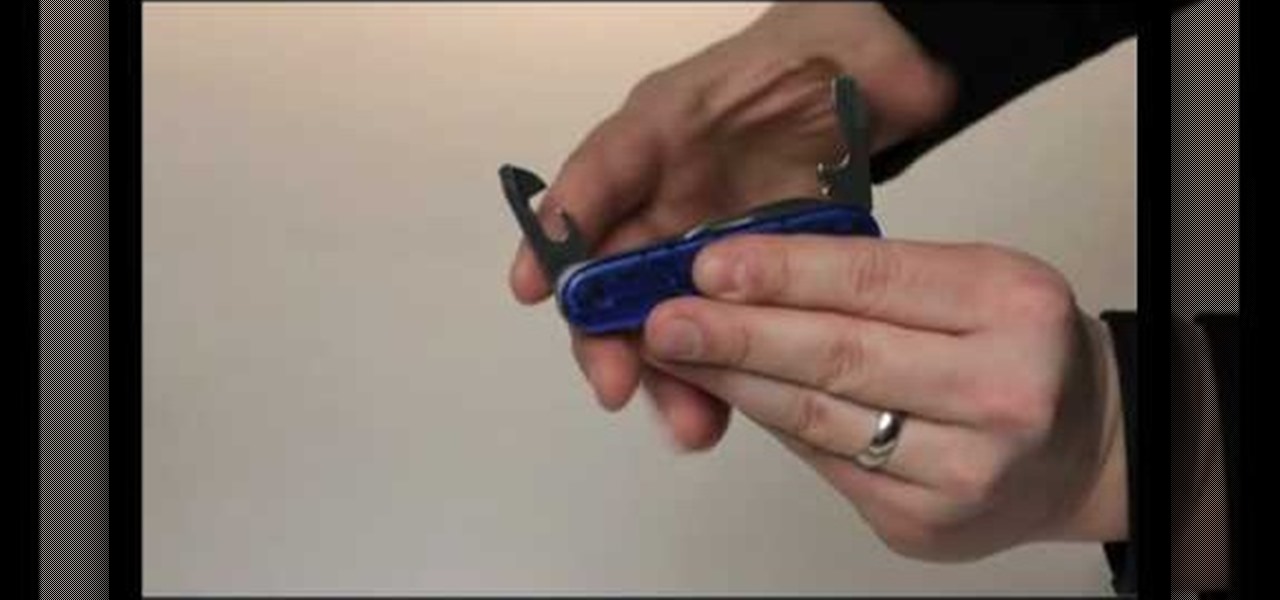
How To: Use the Bottle Opener on a Swiss Army Knife to Pop Off Bottle Caps
The Swiss army knife has a lifetime warranty and is the brand that MacGuyver used in his series so you know that it's good. The keychain side of the knife contains a bottle opener while the other side contains a can opener with a sharp cutting edge. The bottle opener has a flathead screwdriver on its top. You can use it to open bottles of ale when traveling through Europe by using a leverage technique. The top should then easily come off of your desired bottled beverage.
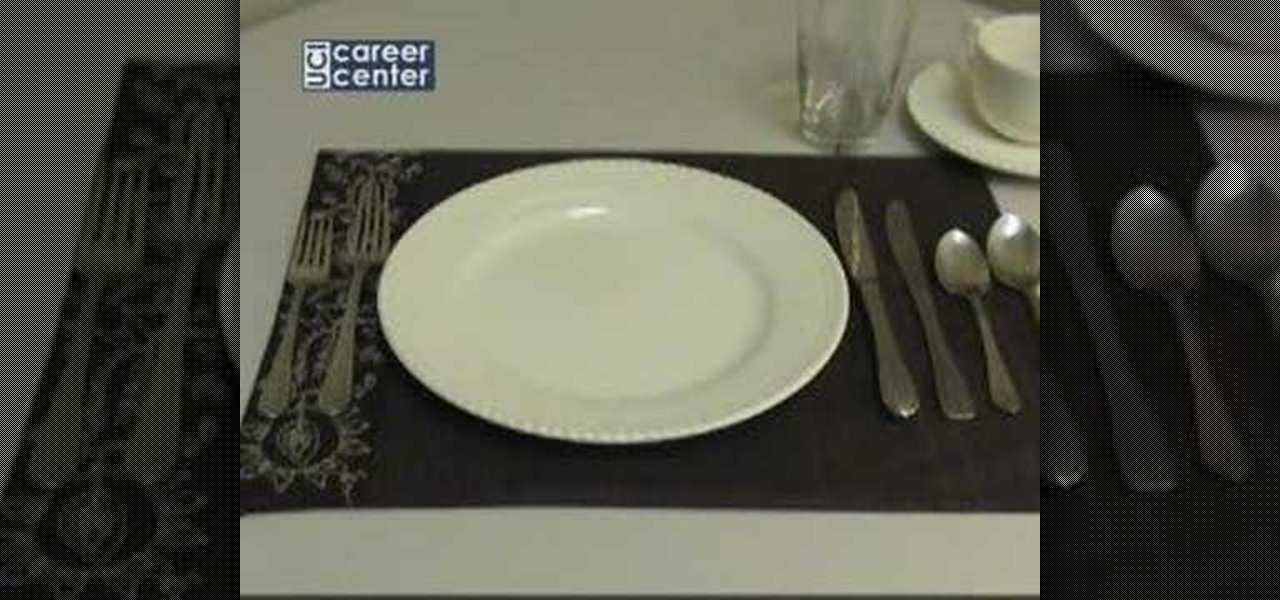
How To: Set a table easily
To set the table for a formal dinner, place a plate a little bit to the left of the center of the meal sheet. Place two forks to the left of the plate, The smaller fork is for the salad, and should be placed on the outer side. The inner fork is for the dinner. Place two knives to the immediate right side of the plate. The outer knife is for the salad, and the inner knife is for the dinner. Place two forks to the right side of the knives, the outermost spoon is for the soup, and the inner spoo...

How To: Use a corn zipper
This how-to video shows you how to use a corn zipper. This is a fun and useful gadget for the kitchen. The corn zipper takes corn off the cob, quickly and efficiently. Just put it on the corn and pull. This will take it off easily. Not everyone can eat corn on the cob. It will also make eating corn easier for kids. It is much safer than knives as well. You can also turn the zipper on the side to milk the corn for creamed corn. This video shows you how useful a corn zipper is for your kitchen.
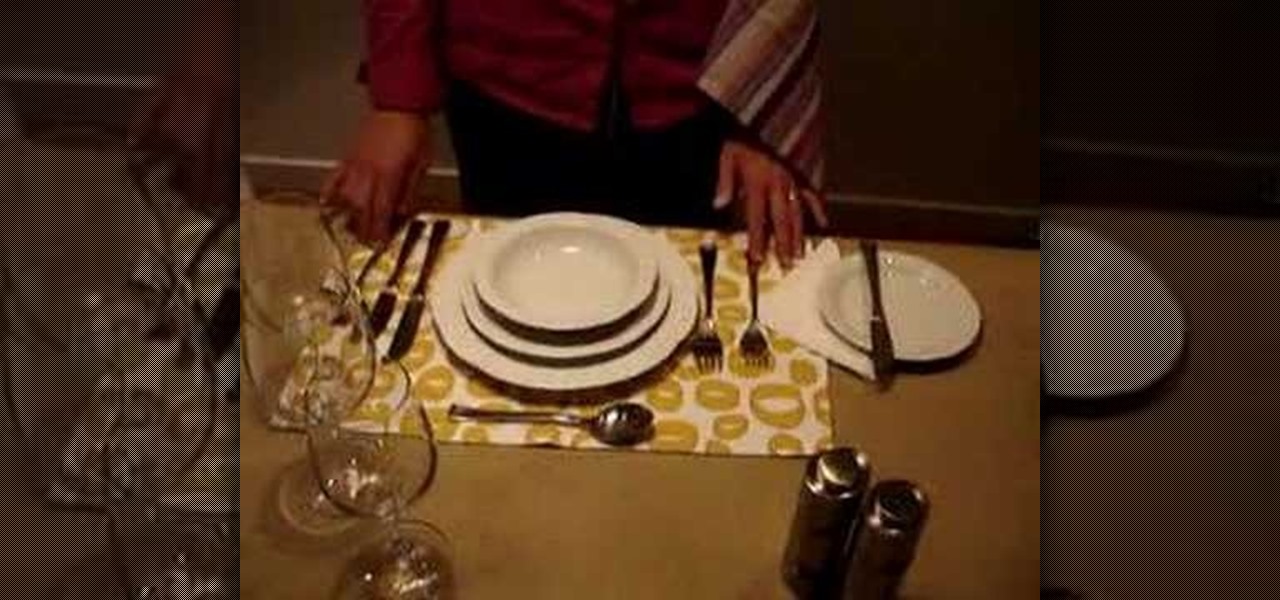
How To: Set a beautiful dinner table properly
In this video tutorial, viewers learn how to set a beautiful dinner table. The utensils, flatware and glassware is paramount is correct setting. The utensils are arranged in the order that a person uses them. The butter knife, forks, napkin and bread plate are placed on the left of the dinner plate. The knives, spoons and drink-ware are placed on the right of the dinner plate. Utensils and flatware are lined up about 1" from the table. There should never be more than 3 utensils on the side of...
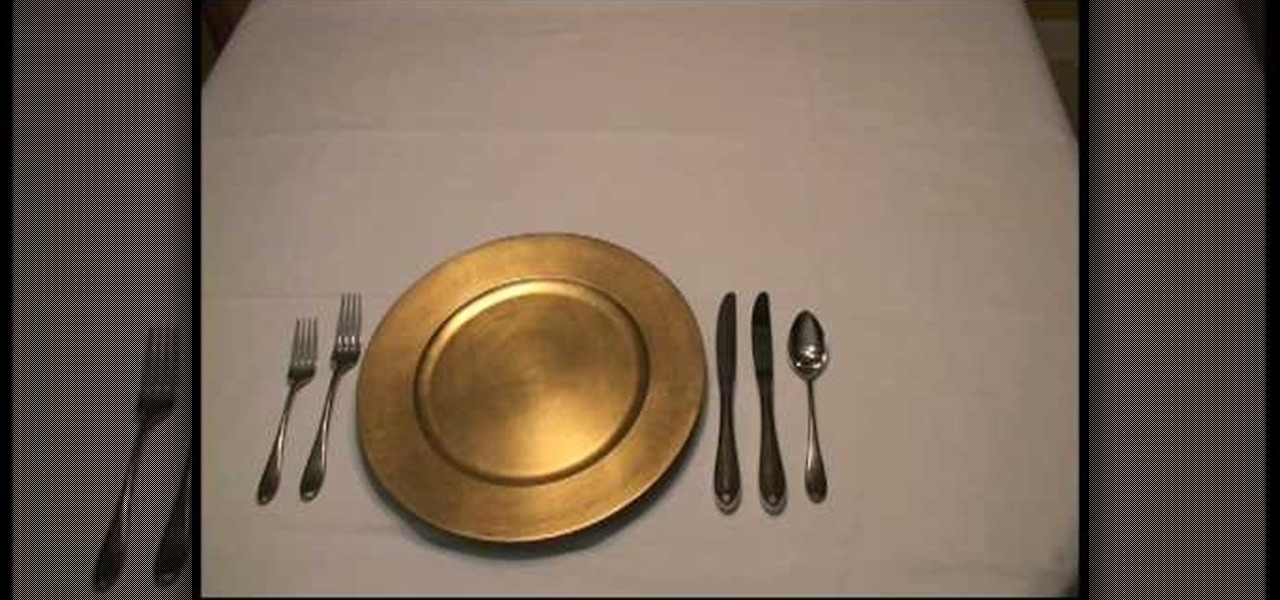
How To: Properly set a table
To properly set a table for an informal four course dinner, keep in mind that a soup course, a salad course, an entree and a desert will be served. First, add the service plate or charger to the table. Place it directly in front of the guest two inches from the table. It will serve as the under plate before the entree arrives. Use exactly the amount of silverware needed to accommodate the meal. For this meal, you will need a soup spoon, a salad fork, a salad knife, a dinner fork, a dinner kni...
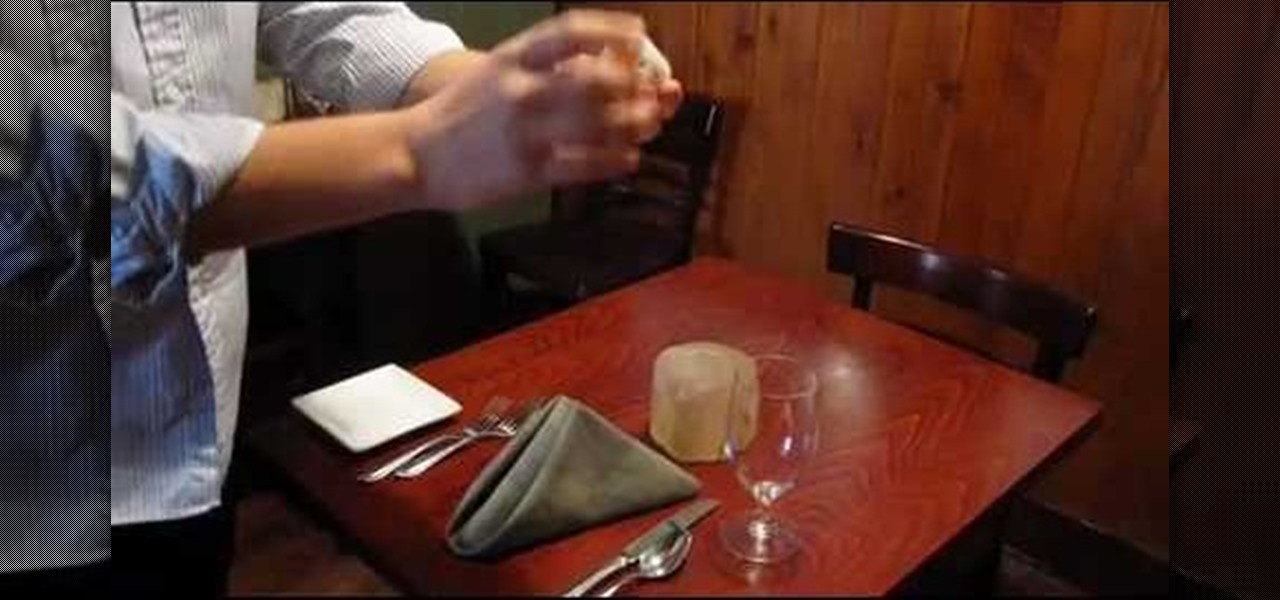
How To: Easily set a table
This video is a tutorial on how to set a table in a restaurant. The table should first be wiped thoroughly with a product called Thieves, a mixture of organic oils that contains no chemicals. Be sure it is dry before people are seated.
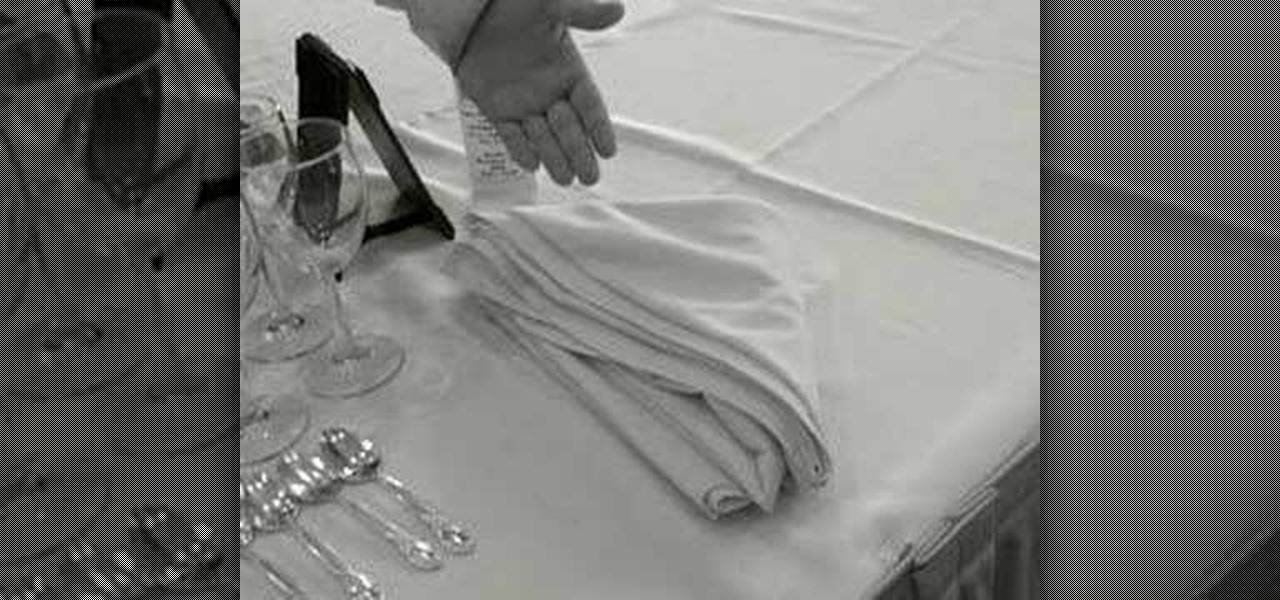
How To: Set a table the proper way
This video teaches us the way to properly set a table. You will require a couple of things for this purpose. These things include a table with a table cloth and napkins. These should be kept at one side of the table. Then take salad forks and dinner forks. Arrange these in the center. Take knives and spoons. Arrange these besides the forks on both the sides. Take bread and butter plates and arrange them above the salad and dinner forks. Put glasses above the spoons. Put bread and butter knive...
How To: Set a table properly
In order to set a table properly, you need to begin with the candles. Try using beeswax in your candleholder to hold your candle upright. Place the salad plate inside your serving plate. Every course should have its’ own silverware. Place the napkin on the left side. The fold of the napkin should be away from the plate.
How To: Use a Swiss Army knife can opener
This video shows you how to use a Swiss Army knife can opener. It is easy to confuse the can opener with the bottle opener. The can opener has a small screwdriver tip and a sharper edge. Cans of spaghetti are good for a quick meal on the train. Put the bottom part of the can opener underneath the lip of the can. Use leverage to poke the top part of the opener through the lid of the can. Move the opener backwards a little and push through again. Keep doing this all the way round the top of the...

How To: Set a basic table properly
This video describes how to set a basic table. First we have to set the placement on a table with a napkin. Next keep a dinner fork, salad fork, and sea food fork on the right side of the placement. Next keep a dinner knife, tea spoon, and soup spoon on the left side of the placement. Next keep desert spoon, desert fork, and bread plate on the other side of the placement. Next keep the dinner plate on the middle of the placement. Next place the soup bowl on that dinner plate. Next put the wat...
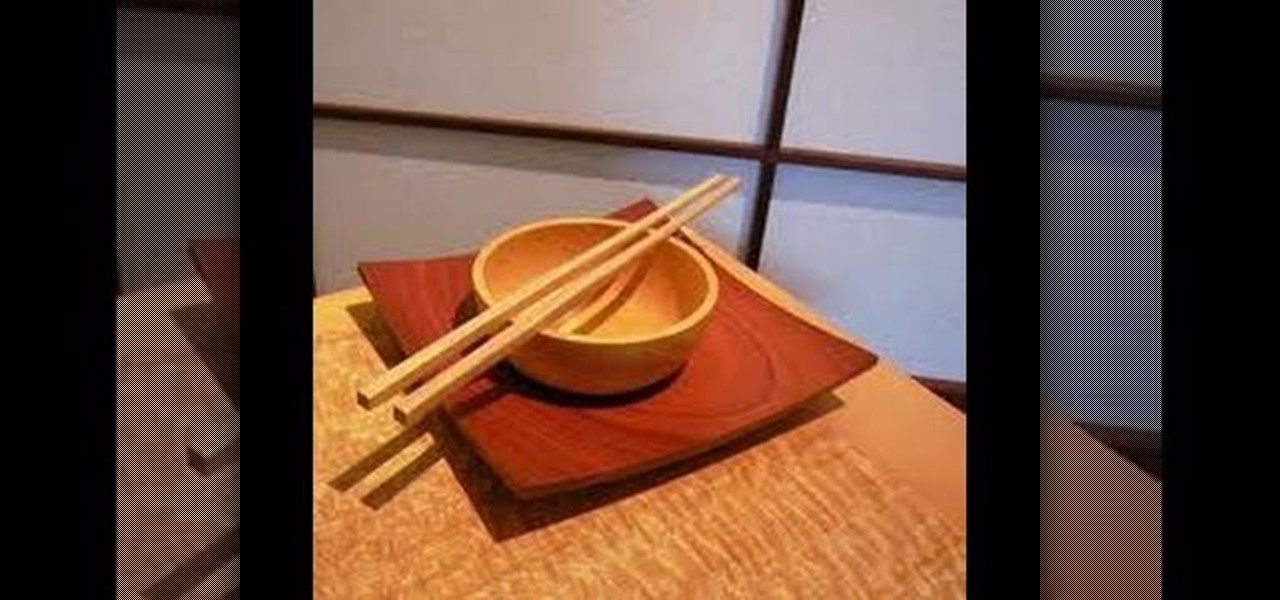
How To: Eat properly using chopsticks
When sitting down to eat a Japanese meal, you will often be offered a warm towel. This is to be used to wash your hands. You should accept the towel and wash your hands with it. Fold the towel back up to look the way it was when it was given to you.
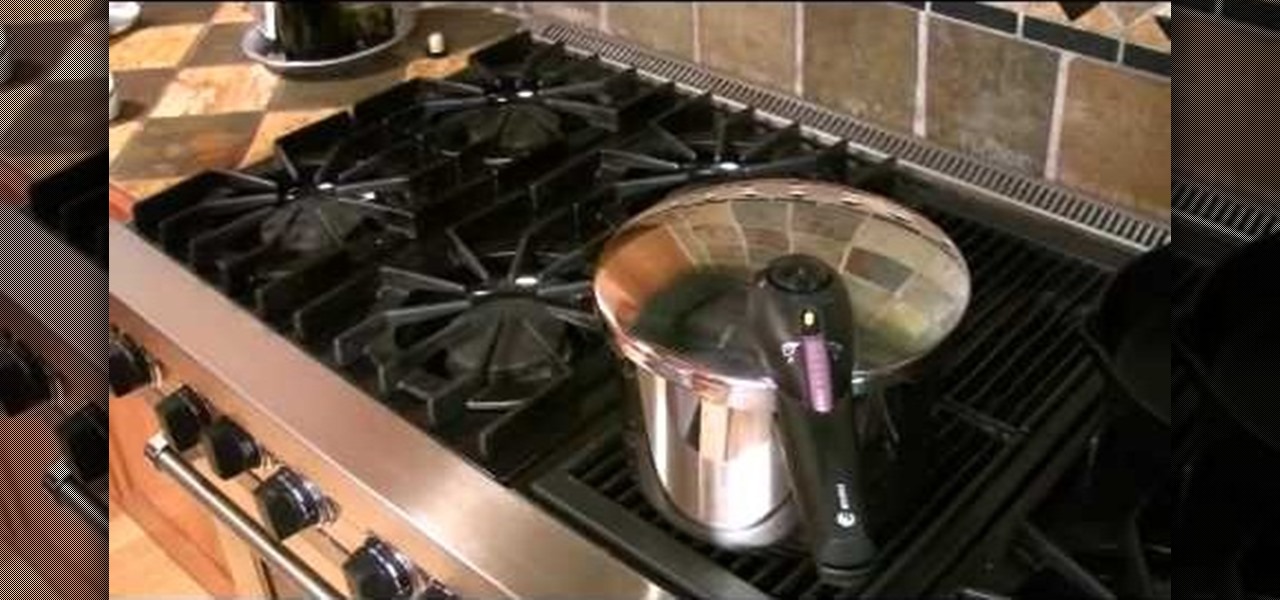
How To: Use and care for a pressure cooker
This video describes the different parts of a pressure cooker, and how to use it. The pressure cooker consists of a heavy gauge pot and a tight fitting locking lid with a pressure release and a button that pops up when the right pressure is reached. There is also a quick release valve that you can turn manually. There is also a gasket that fits inside the lid to keep the pressure in the pot. To assemble the pressure cooker, insert the gasket under the flanges in the lid, line the lid up on th...
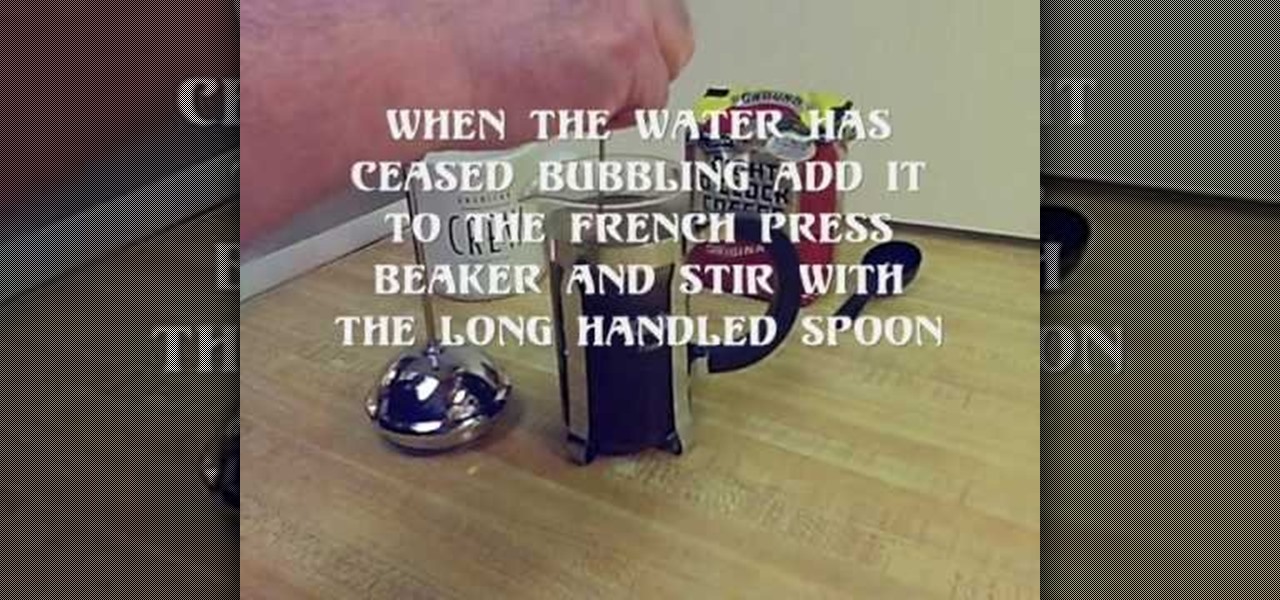
How To: Use a French press coffee maker
This video shows how to use a French press coffee maker. We need 8 0'clock coffee regular or course grind, teaspoon measure long handled spoon, Pyrex measuring cup, the French press coffee maker and a cup to drink from. Heat to boiling just enough filtered water to fill the French Press beaker. Measure out one level teaspoon of coffee for each 6 ounce cup of coffee you are preparing. When the water has ceased bubbling add it to the French press beaker and stir with the long handled spoon. Wai...

How To: Understand the basics of food safety in cooking
"Foodborne illnesses are responsible for more than 75 million illnesses, more than 230,000 hospitalizations, and approximately 5000 deaths each year in the United States." In this six-part video lesson, learn about the basics of food safety in a commercial food enviornment. In the first video, three types of contamination are gone over as well as how improper handling can allow food to become dangerous to your patrons. In video two, learn about proper holding times and temperatures, and what ...
How To: Properly wash your hands when handling food
Every restaurant, or cook for that matter, should know how to wash their hands the right way when handling food. In this two-part video tutorial, learn how to properly wash your hands if you handle food in a commercial environment. This series of two videos also contains information on how to set-up a handwashing station.
How To: Determine which grater is best for the job
Gourmet editor, Ruth, tells us all about the different graters and why choosing the best grater for each job is very important. The classical grater is called a knuckle bleeder. This is because when you're at the end of the item you're grating, you have to get your hand really close to it and you might scrape your knuckles. The hand grater is easier to use and provides smaller pieces which makes it ideal for most grating jobs. A zester grater is also easy to use and provides more volume than ...
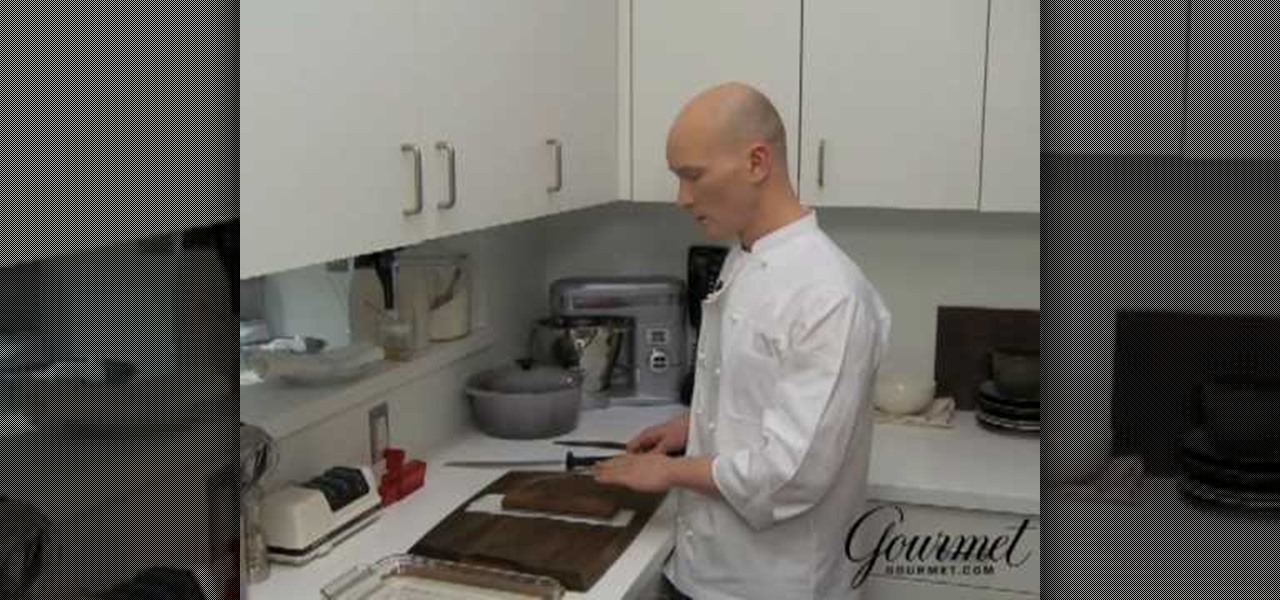
How To: Properly sharpen a knife
Food editor Ian Knauer demonstrates a simple method for using a whetstone and a steel to keep your blades sharp. Just follow along and learn how.
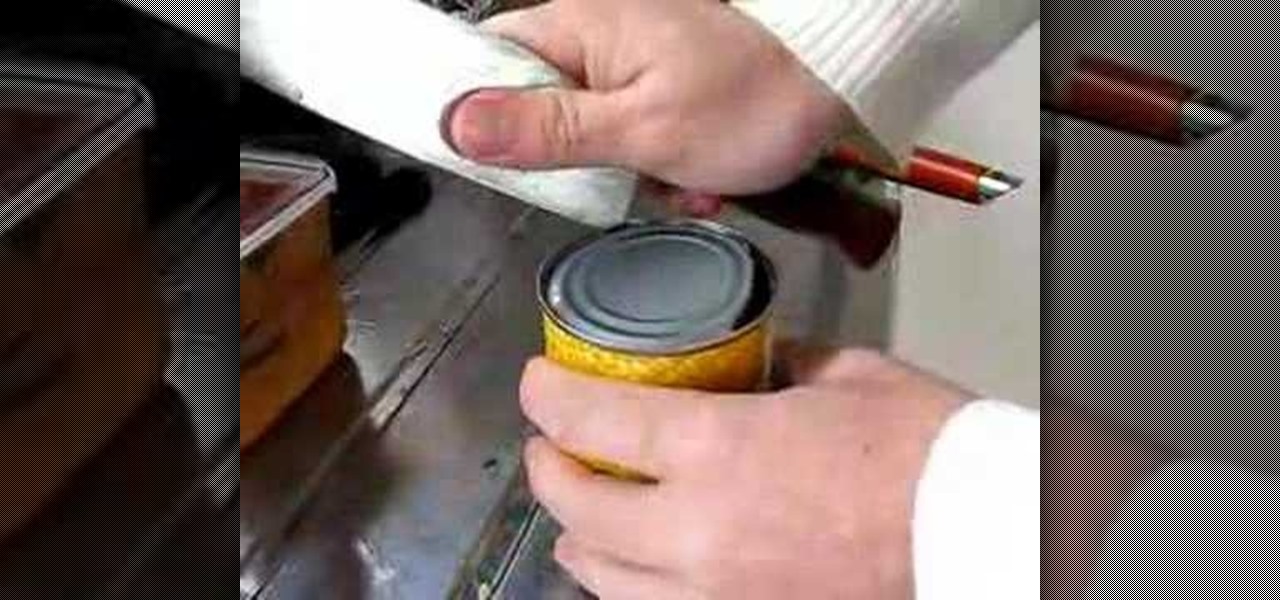
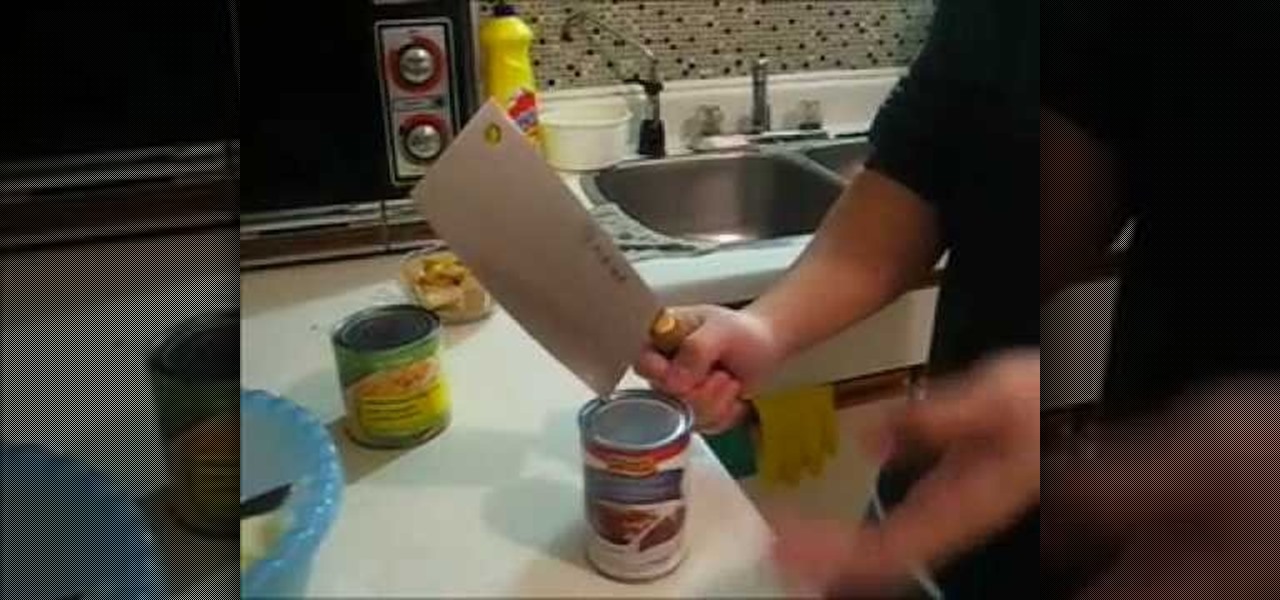
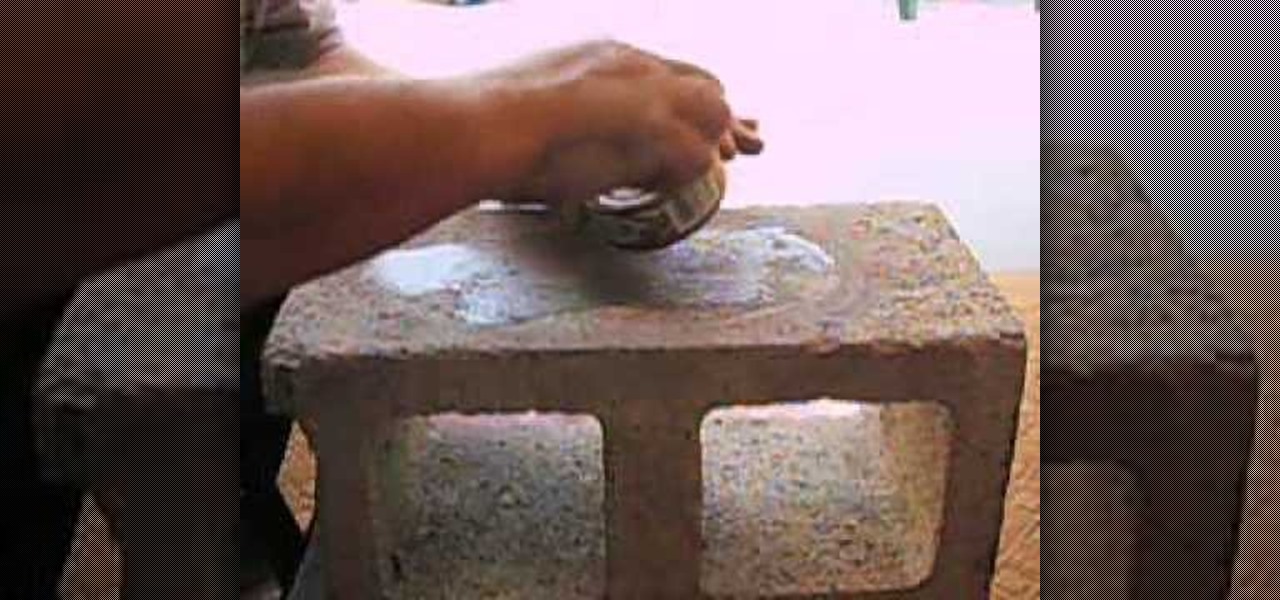
How To: Open a can using a knife instead of a can opener
This video is how to open a metal can with the corner of a knife. First, you must find a knife that has a ninety-degree angle where the corner is a sharp point. A cleaver, like the one shown in the video, type of knife would be best. You use the corner to puncture the can and continue puncturing it as you rotate the can. Make sure to tilt the knife outwards after you puncture. Puncture successively and simultaneously rotate the can so that each puncture mark starts where the last one left off...
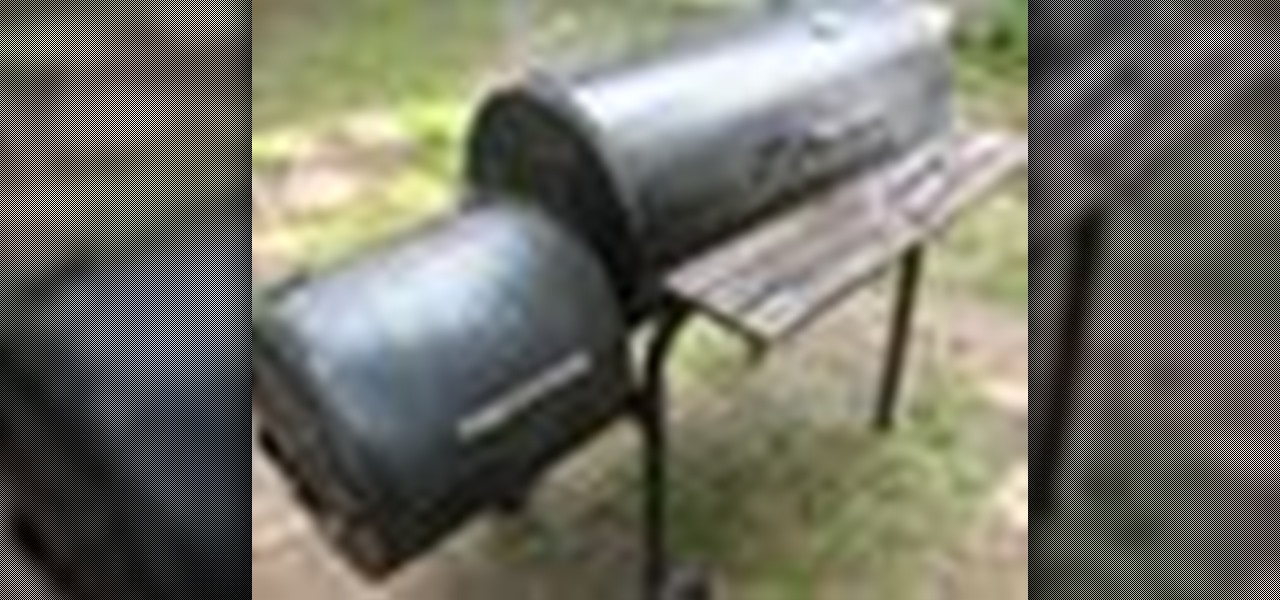
How To: Use a barbecue smoker
Just got a smoker? Well, how do you use it? Before you slap on the meat and try it out without any prior knowledge, check out this video for the basics of using a smoker. You won't regret it. The results will be a nice smoky flavor worth the time and preparation.
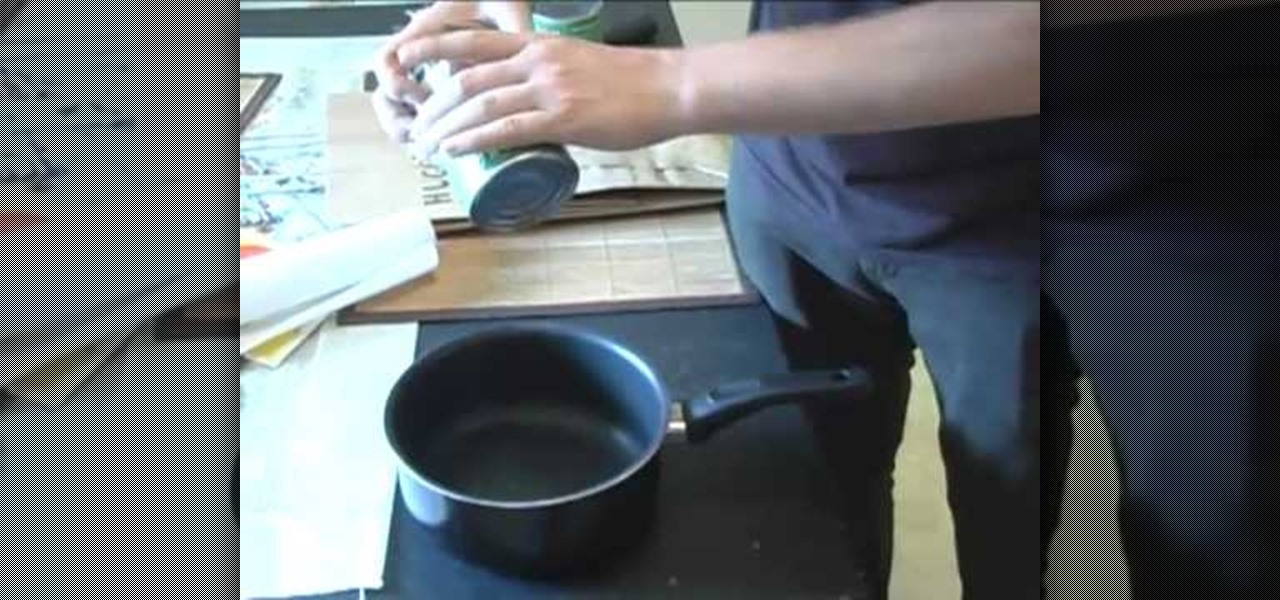
How To: Use a hammer and nail to open a soup can
Have you ever been caught with nothing to eat but canned soup or tuna fish and no can opener in sight? In this video, AJ Conover demonstrates how to open a can with a hammer and nail. First make sure the hammer and nail are very clean. Use the hammer to lightly pound the nail into the can's lid creating holes. Be careful not to pound too hard and drop the nail into the food inside the can. Hammer enough holes to make an opening around the edge of the can's lid and then pry the lid up and open...
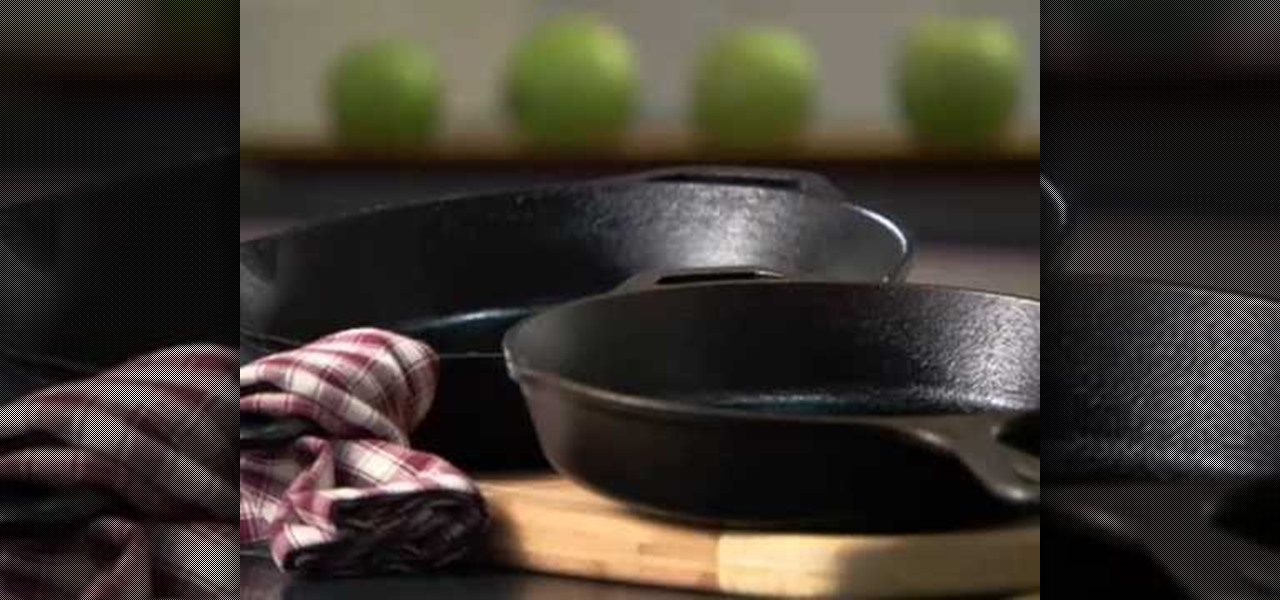
How To: Season a cast-iron pan
Cast-iron provides one of the best cooking surfaces for any cooking. Learn how to season it to perfection.

How To: Eat using chopsticks
Chopsticks are widely used in eastern countries and suffices as a great alternative to most western eating utensils. Chopsticks may be super cool to use but they can also be quite difficult to handle. This video will show you exactly how to eat using chopsticks properly.
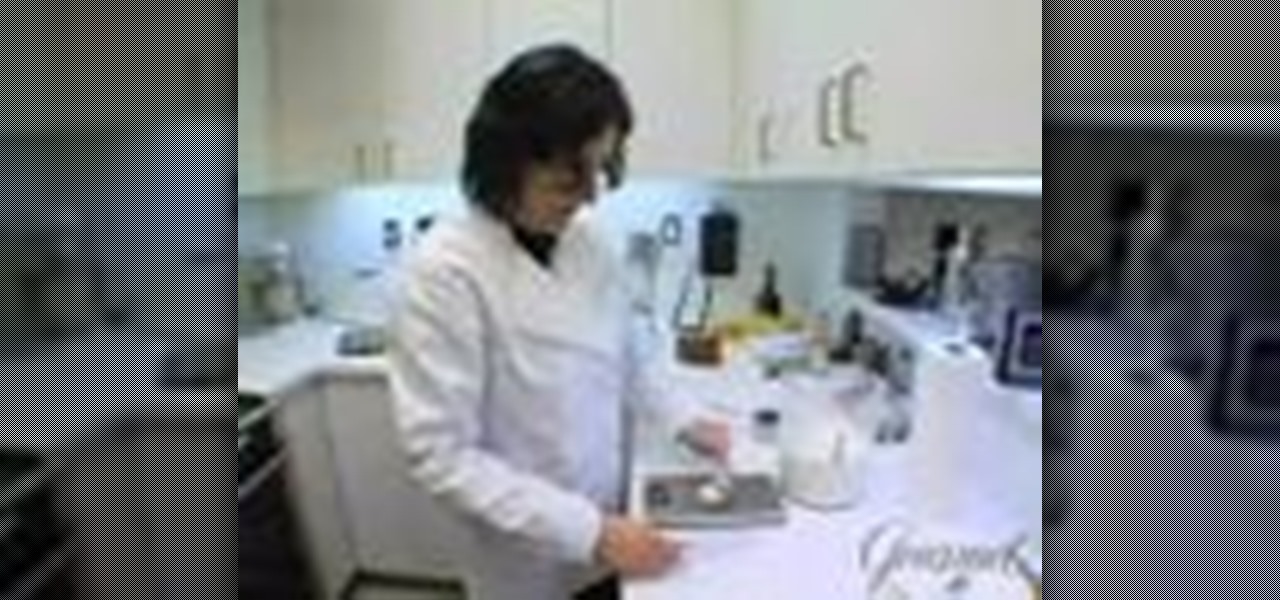
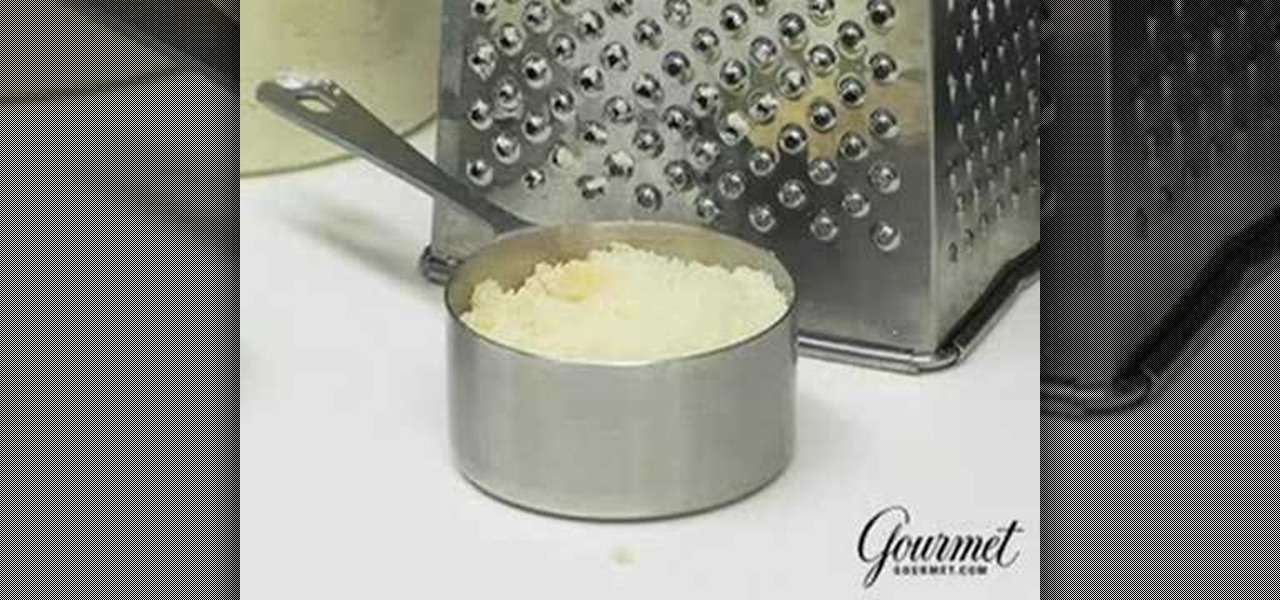
How To: Properly measure flour
Maggie Ruggiero, a food editor with Gourmet Magazine, and Test Kitchen demonstrate how to correctly measure flour. To properly measure flour, first spoon the flour into a measuring cup. Then level the flour in the measuring cup by taking a knife and sliding it across the top of the measuring cup. Never pack the flour into the measuring cup. If you pack the flour into the measuring cup, you will get a significant difference and increase of about three tablespoons of the flour in the measuring ...
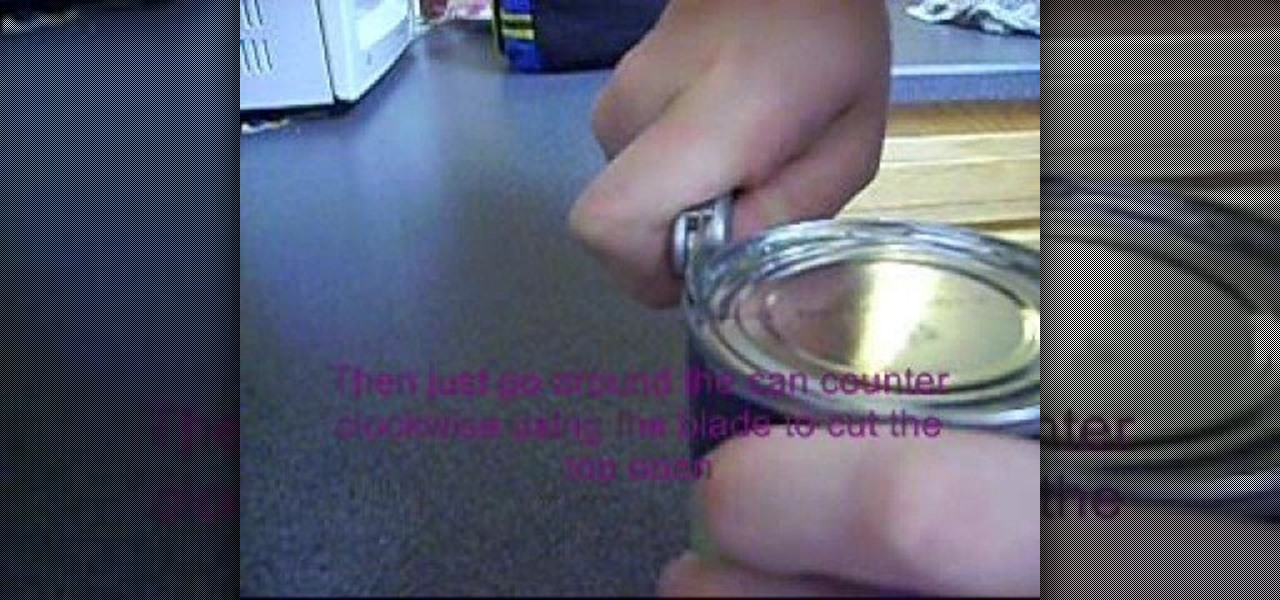
How To: Open a can using a Swiss Army Knife
This is a video demonstrating how to open a can with a Swiss Army Knife can opener. To begin, place the can on a flat surface. Open the can opener on the Swiss Army Knife. Make sure that the hook of the can opener is on the outer ring of the can and that the cutting part is on the inside. Use the blade to puncture a hole in the can, pulling up on the handle and pushing the blade along the can. Move the can in a counter clockwise motion cutting along the way. Use the tip of the can opener to p...
How To: Open a soup can without any tools
J. Falk of TrailGear demonstrates how to open a can without using any tools, such as can openers, knifes or sharp objects.
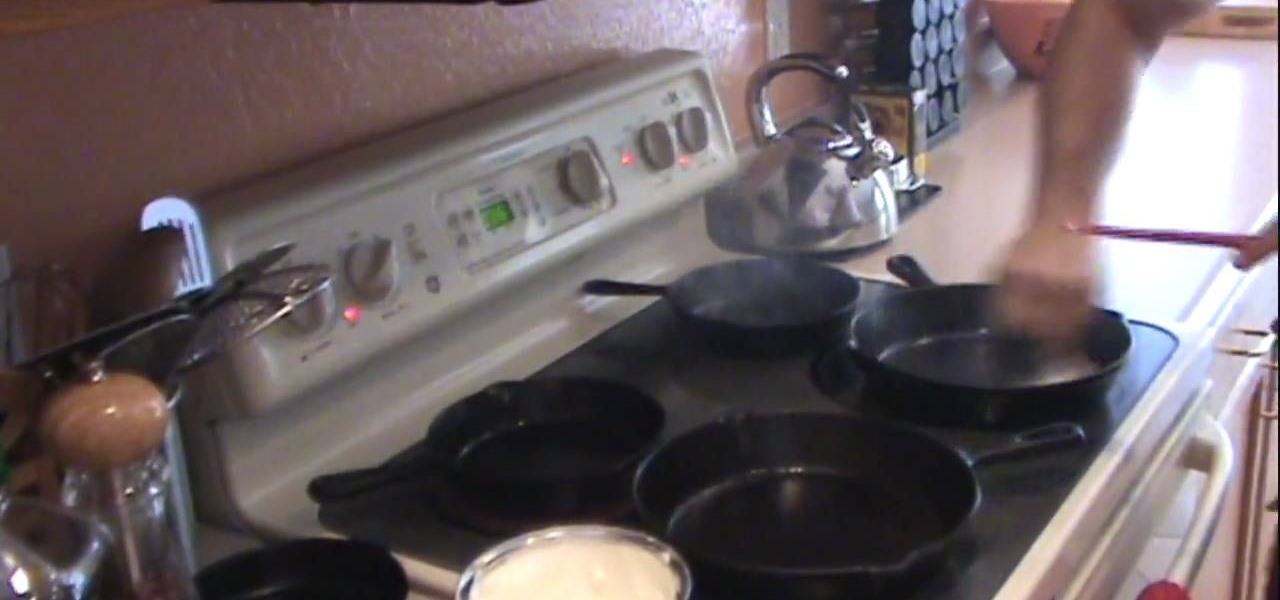
How To: Prepare a cast iron skillet
For this to work, you will need to take your pan through a process of heating and cooling. You put it on the stove, start the heat and apply a thin layer of fat on it, with a napkin or brush. This will open up the pours of the pan. As the fat becomes to burn and the pan heats even more, place it on a lower setting on another part of the stove and continue to apply fat. This process repairs the pan, as it pushes the rust away from the pores, so you will have a stronger pan in the end. This wil...

How To: Properly use chopsticks
In this video tutorial, viewers will learn both chopstick etiquette and how to use them. This video shows various types of chopsticks. Viewers learn three etiquette with chopsticks; don't point with chopsticks, don't stick them in anything and don't pass food with them. To hold chopsticks, pinch together the thumb and index. Now have the middle finger support the first chopstick underneath. The ring finger will support the second chopstick. Move the top fingers to open and close the chopstick...